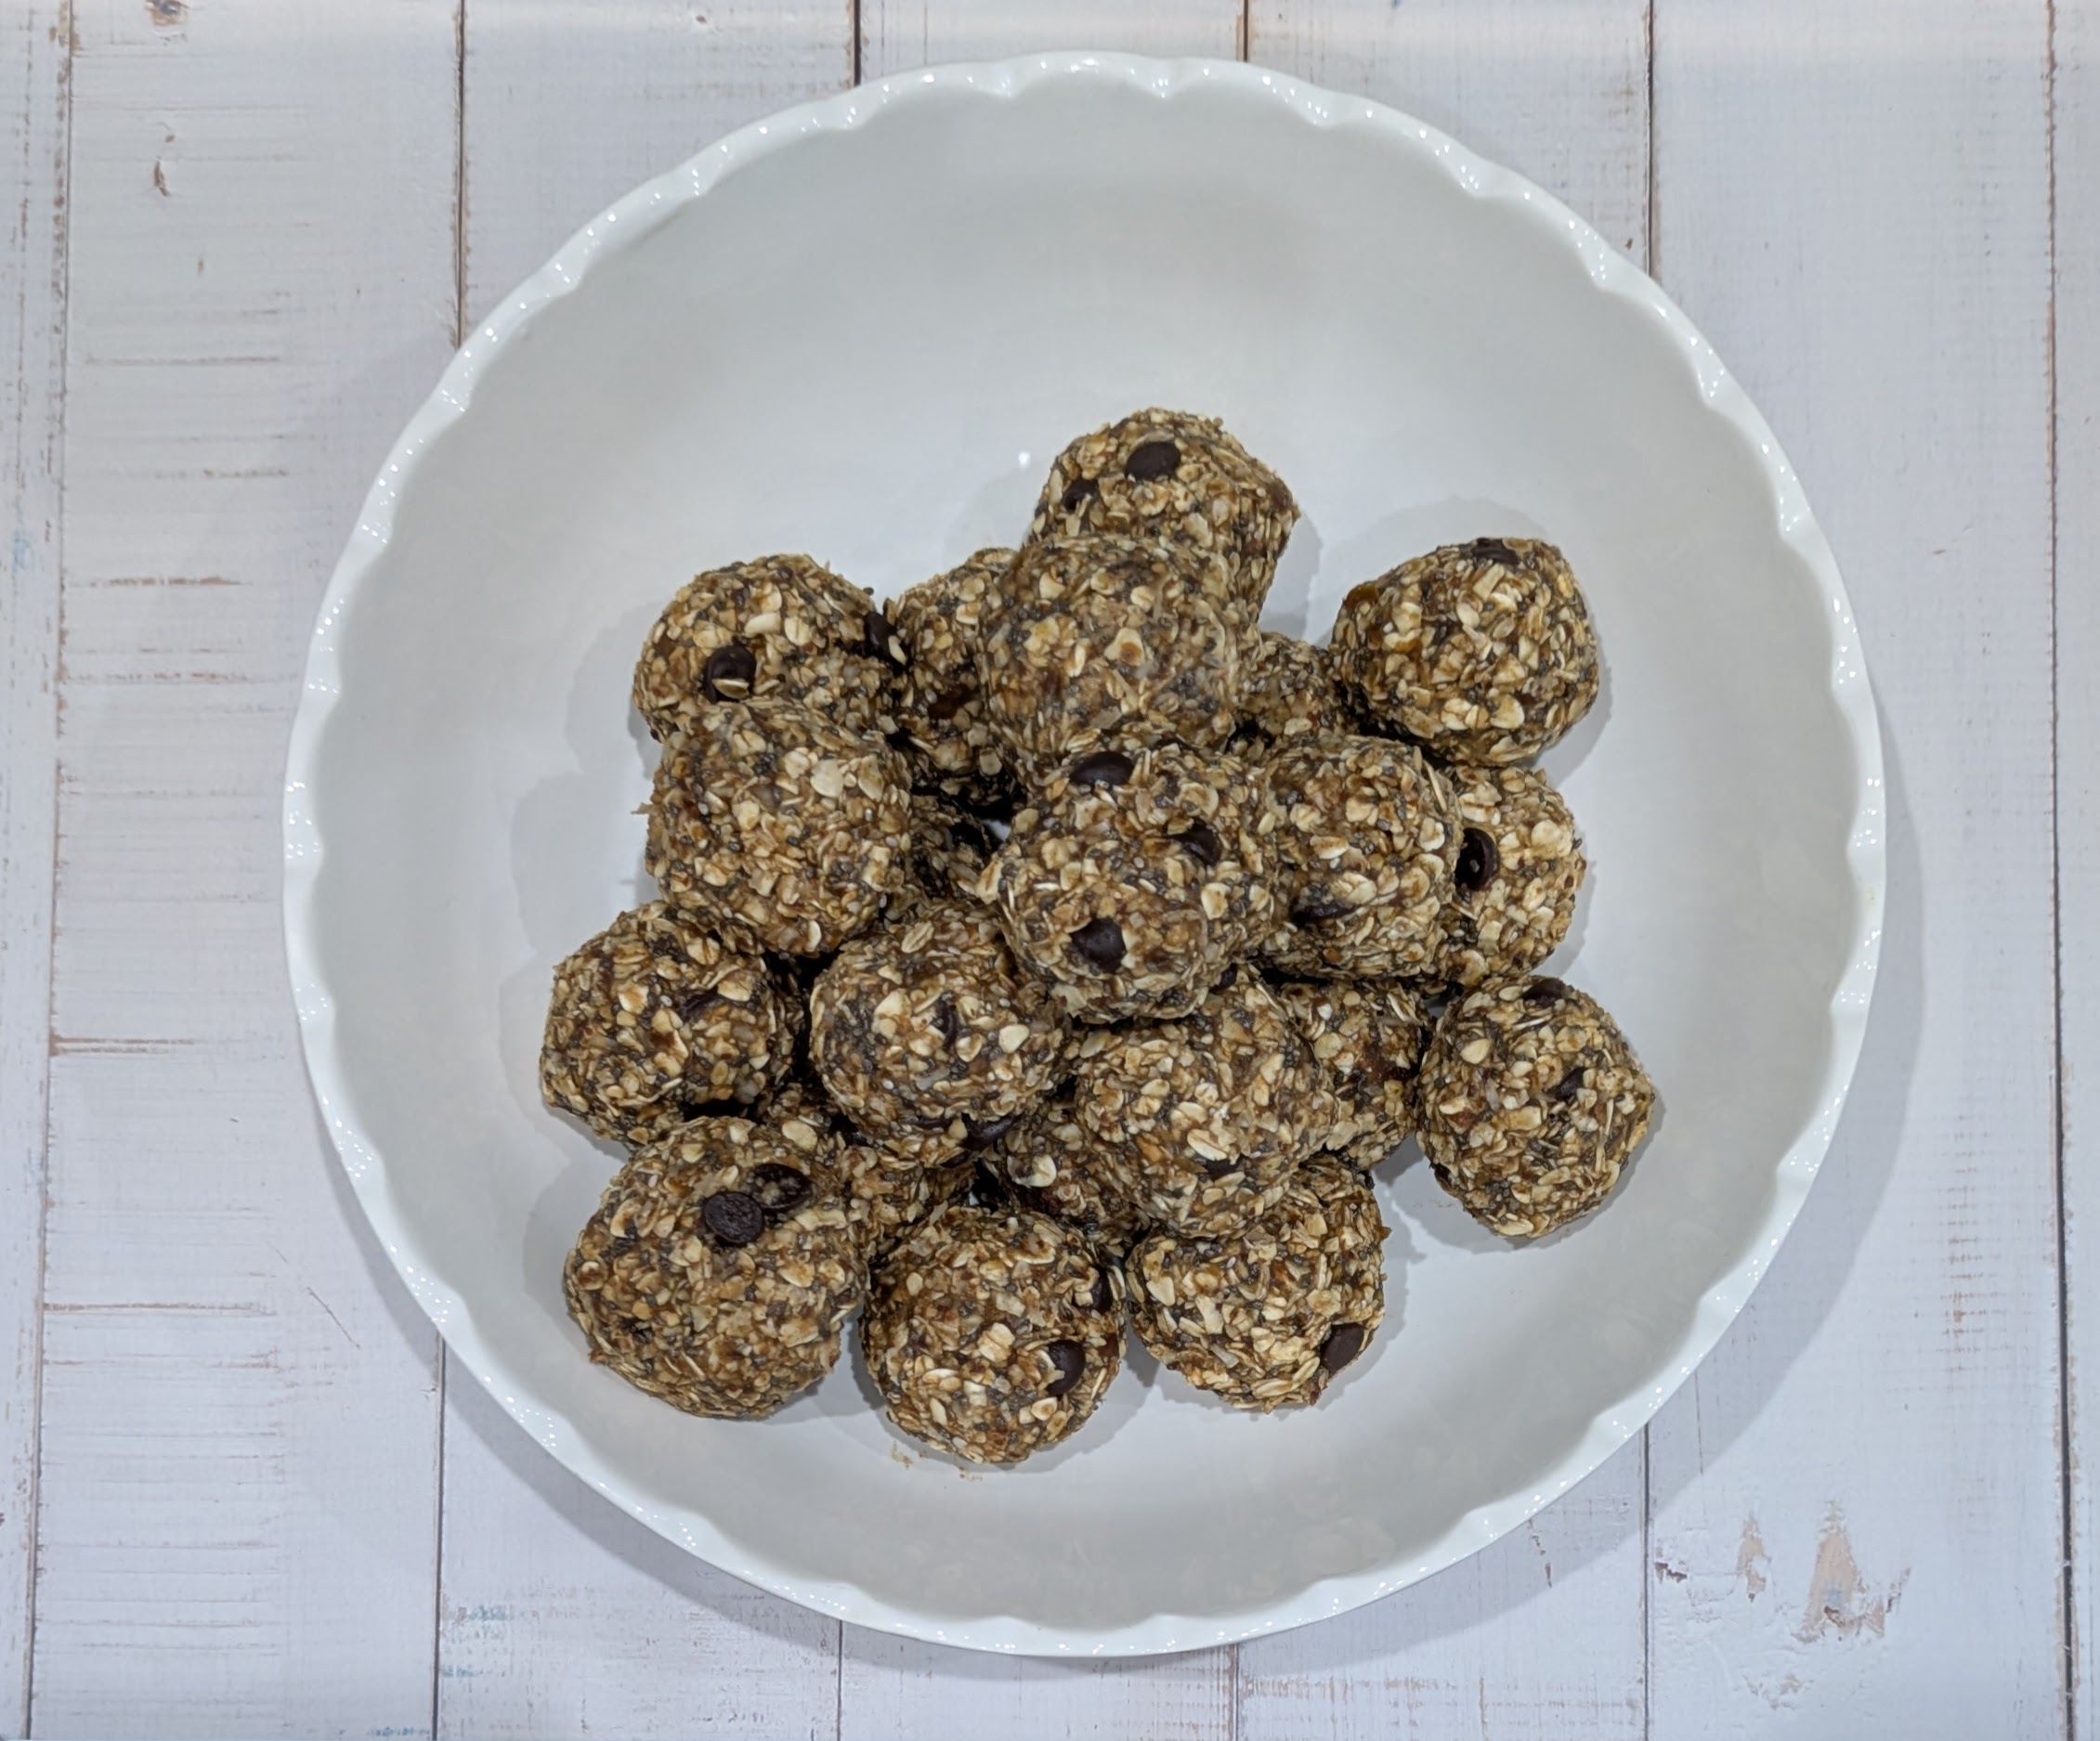
Gluten free, nut free energy balls
Jump to:
- ❤️ Why These Nut free Energy balls Are So Good
- 🍌 Ingredients & Notes
- 🧑🍳 Instructions (Step-by-Step)
- 🥣 Products I Used
- 💡 Expert Tips
- 📖 Recipe Card
❤️ Why These energy oat balls Are So Good
When you need a little pick me up or a little sweetness but don’t want to reach for chocolate and want to fill your body with goodness, these are a solid choice. No bake and they come together so quickly and easily you can have your kids make them for you. Filled with seeds, coconut and oats (certified gluten free if you need) , they are sure to leave you feeling treated but also full. And bonus, not only are these gluten free but these are also nut free, so great for anyone who has nut allergies or who goes to a nut free school
🍌 Ingredients & Notes

For these Energy Oat balls, you’ll need:
Oats
These form the bulk of the energy ball giving you important vitamins. minerals, fibre and antioxidants.
Seeds including chia seeds and flax seeds
Coconut flakes
Ground cinnamon
Liquid sweetener ( I like maple syrup)
Date paste * see tips for instructions
Seed butter
Chocolate chips (optional)
🧑🍳 Instructions (Step-by-Step)
Step 1: Add oats to a large bowl
Step 2: Add seeds, coconut, and cinnamon. Combine these together.
Step 3: In a separate bowl soak dates in hot warm to soften then blend until paste forms or leave a bit chunky for texture. Add to the dry ingredients.
Step 4: Soften the seed butter in a pan or in the microwave along with the maple syrup and add to the dry ingredients. Mix it all together until everything is fully combined.
Step 5: Get a bowl of warm water and have it beside you to dip your hands in. I find having wet hands helps to form the energy balls. Take a small ice cream scoop and scoop mixture into your hands, making sure it all sticks together to form a golf size ball before moving on to the next one. Using the scoop ensures they are all the same size and uniform.
Step 6: Store in the fridge in an airtight container for the week or freeze and enjoy at a later date.

🥣 PRODUCTS I USED
This post contains Amazon affiliate links. As an Amazon Associate I earn from qualifying purchases. If you buy through these links, I may earn a commission at no extra cost to you.
💡 Expert Tips
To make the date paste, I add 1 cup of pitted dates to a bowl and pour over with hot water from the kettle. I add just enough so that all the dates are submerged and leave to sit for 5/10 minutes while I assemble and mix the rest of the ingredients. After the 10 minutes, remove the dates from the bowl and add to a small belnder ( smoothie part ). I add a tablespoon of water first to see whether the blender will combine with ease. I keep an eye on it and keep adding some of the liquid until I see the date pieces disappear and am left with a smooth textured paste. Usually this takes up to 1/4 cup of the liquid but depending on the dates you use, you may need more. Trial it and see what works for you. This will make more than the amount you need but you can store the paste in the fridge and use during the week for other recipes or freeze it.
📖 RECIPE CARD

Ingredients
Equipment
Method
- Step 1: Add oats, chia seeds, ground flax seed, coconut flakes and cinnamon to a bowl and mix.
- Step 2: Add maple syrup to a pan along with the seed butter and warm to combine. You can also use a microwave safe dish to warm through in a microwave. Add to the dry ingredients and mix thoroughly.
- Step 3: Once combined you can add the chocolate chips if using as the mixture needs to cool slightly or else the chocolate will melt.
- Step 4: With wet hands use a small ice cream scoop to scoop uniform quantities in your hand to form balls. You may need to squeeze each ball slightly to ensure the mixture sticks together. Continue until all your mixture is used up.
- Step 5: Eat straight away, keep in the fridge for the week or freeze for later.
TRY SOMETHING ELSE…


Leave a Reply